Start here — your first 5 minutes with Swik
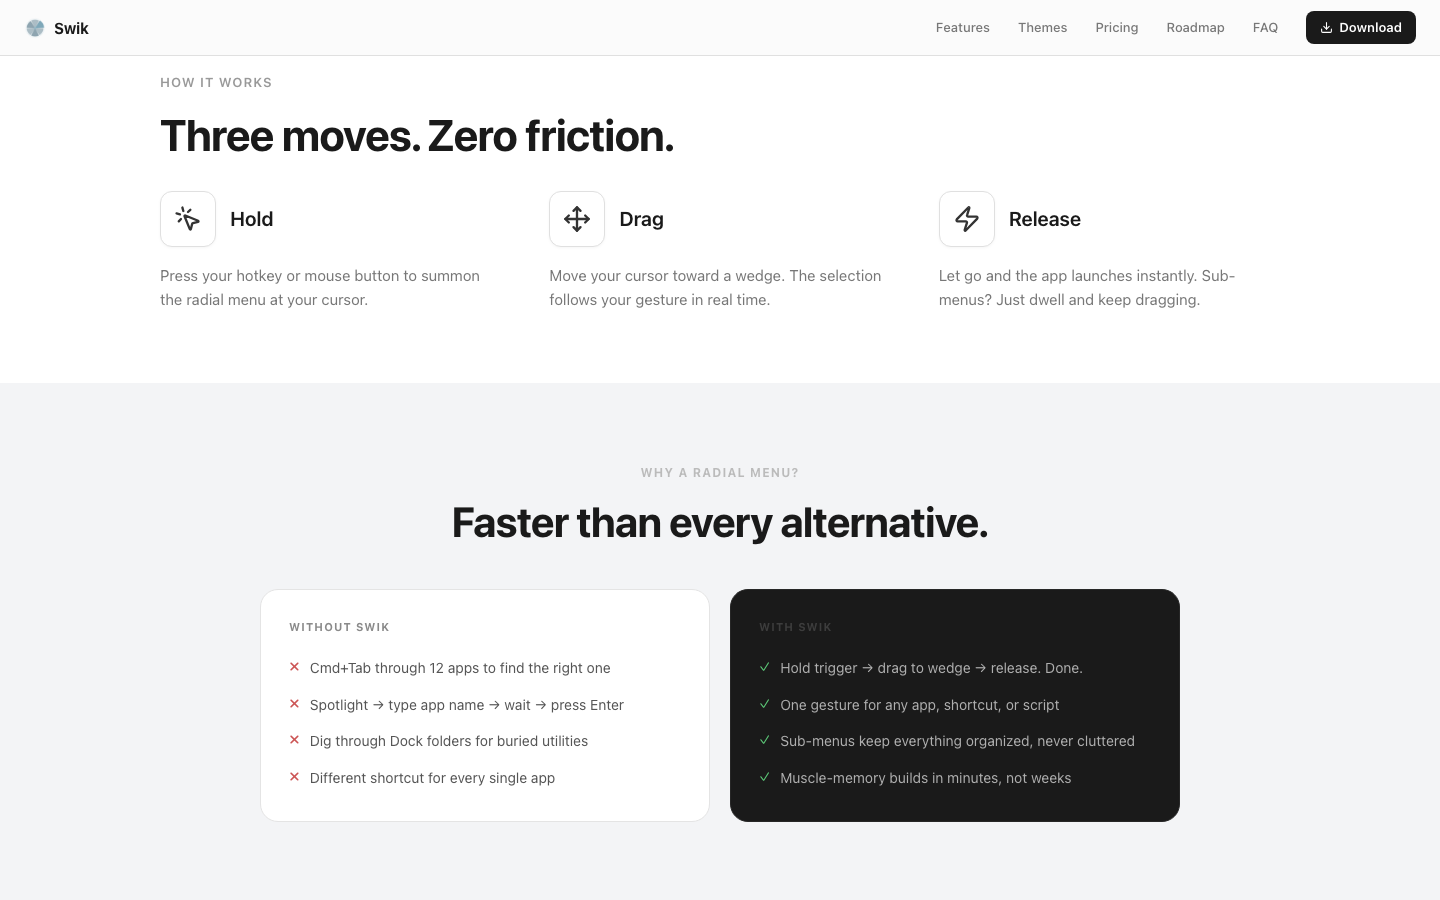
Swik is a radial app launcher: hold a hotkey, your menu fans out around your cursor, drag toward the wedge you want, release to launch. This page walks you through everything between "I just installed it" and "I'm using it." If you follow the five steps below in order, you'll be flicking apps open in under five minutes.
Before you start — the five words
Most of the rest of the guides assume you know these. They take ten seconds to learn, and reading them now will save you re-reading half the docs later.
The five-minute setup
-
Install Swik and launch it
Drag Swik.app from the DMG into
/Applications, then open it from there (not from the DMG window). On first launch macOS may show a "downloaded from the internet" warning — click Open.The first time Swik runs, an onboarding wizard appears. It picks a starter set of wedges from the apps already installed on your Mac, so the menu has something useful in it from the very first summon.
-
Grant Accessibility permission
The wizard's last step asks for Accessibility. Click the Open System Settings button. macOS opens Privacy & Security → Accessibility. Toggle Swik on. You may need to enter your Mac password.
This permission is what lets Swik observe your hotkey globally — without it, the menu cannot be triggered. Swik does not read keystrokes, log them, or send anything off your Mac. The permission is the macOS-level mechanism, not a content grant.
If the toggle stays off after you click it, quit Swik (Cmd+Q) and relaunch. macOS sometimes needs a fresh process to pick up the grant.
-
Pick a hotkey that won't collide
Still in onboarding, you'll see a hotkey badge — the default is Right Option. Click it to record any other key. Lonely keys work best:
- F19, F18, F17 — function keys most apps don't claim.
- Right Option, Right Cmd, Caps Lock (remapped via Karabiner) — modifier keys you don't otherwise use.
- A mouse side button — even faster if your mouse has them. Set this later in Settings → Hotkey → Additional Triggers.
Avoid Cmd-modified combos — they collide with app shortcuts.
-
Summon the menu and try it
Press and hold your hotkey. The radial menu appears at your cursor. Without releasing, drag in any direction — the wedge nearest your cursor highlights. Let go. That app launches.
That's the entire interaction model. No clicking. No reading. Press, drag, release.
Try it three or four times with different wedges. Within a dozen launches, your hand starts to remember which direction is which app, and you stop looking at the menu — you just flick.
-
Cancel without firing — and learn how to dismiss
Hold your hotkey. The menu appears. Drag back to the small circle in the center — the dead zone — and release. Nothing fires. That's the safe-cancel.
You can also tap Esc at any time to dismiss the menu without committing. If you switched to Toggle mode (Trigger Mode guide), tap your trigger key again to close, or click outside the menu.
For a deeper look — including how to step back out of a sub-menu without canceling fully — see the Cancel & dismiss guide.
What's next — and where to find Settings
The menu bar icon (a small radial dot, top-right of your screen) is your home base. Click it for Settings, Pause, and Quit. If you ever close the Settings window, the menu bar icon is how you reopen it.
Once the basics feel natural, here are the four things first-week users tend to do, in order:
| What | Where | Why |
|---|---|---|
| Add or rearrange your wedges | Settings → Menu | The starter set is a guess. Drag in the apps you actually use, drag out the ones you don't. Click any wedge in the preview to edit it. |
| Try Toggle mode for a day | Settings → Hotkey → Trigger Mode | Hold is faster once memorized; Toggle is friendlier while you're still learning the layout. The Trigger Mode guide explains both. |
| Turn on Window Expansion | Settings → Menu → Window Expansion | If you have multi-window apps, hovering a wedge fans out the windows individually. The Window Preview guide covers it. |
| Group with sub-menus | Settings → Menu → click a wedge → switch to "Sub-menu" | Once your top ring fills past 8, group the secondary apps into sub-menus by mood (work, comms, design). See the Sub-menus quick guide. |
If something feels off
| Symptom | Most likely cause | Fix |
|---|---|---|
| The menu won't appear when I press my hotkey | Accessibility permission was never granted, or got revoked by a macOS update | System Settings → Privacy & Security → Accessibility → toggle Swik on. Then quit and relaunch Swik. |
| My hotkey opens the menu, but a different app also reacts | The hotkey collides with an app shortcut | Settings → Hotkey → record a different key. F19 or Right Option almost never collide. |
| Menu fires the moment I press, before I drag | Dwell Time is set very low | Settings → Advanced → Behavior → raise Dwell Time a notch. |
| I lost the Settings window | Closed the window — Swik keeps running in the menu bar | Click the radial dot in the menu bar (top-right of your screen) → Settings. |
| Menu launches the wrong app sometimes | Cursor crossed an angular boundary right at release | Settings → Advanced → Behavior → raise Selection Stability. |
Frequently asked questions
Do I need to keep Swik open?
Swik runs in the menu bar — it doesn't show in the Dock. Once launched, it stays running quietly until you quit it. Enable Launch at Login in Settings → Menu → Menu Bar so it comes back automatically after a reboot.
What's free vs Pro?
Free includes 5 wedges (one ring), Hold and Toggle triggers, Window Expansion (with icon+title pills, plus live thumbnails if you grant Screen Recording), all five built-in themes (Glass, Dark, Light, High Contrast, Neon), keyboard navigation, frecency sort, drag-to-slot, import/export, and one profile. Pro ($9 one-time) adds: sub-menus, additional rings, mouse-button triggers, Strict wedge selection, theme customization (opacity / blur / colors), Apple Shortcuts wedges, Clipboard history wedge, Emoji picker wedge, multi-action mode (close/quit/etc), and multiple profiles. The full list is on the Free vs Pro page.
Can I undo if I break my setup?
Yes. Settings → Advanced → Layout & Reset → Reset to Defaults restores every Advanced value. Your wedge layout and hotkey are not affected. To re-run the onboarding wizard, use Settings → Advanced → Onboarding → Re-run setup.
What happens when I hit the 5-wedge free limit?
You can keep using your existing 5 wedges as long as you want. Adding a 6th opens a Pro upgrade prompt. Sub-menus count as one wedge — so a "Comms" sub-menu containing five apps still uses just one of your five slots, which is the practical workaround for the free tier.
Is Swik tracking what I launch?
No data leaves your Mac. The Analytics tab in Settings is a local-only stats view of your own usage — it never syncs anywhere. The only network call Swik makes is the periodic update check via Sparkle.
Swik — a radial menu for macOS
Launch anything. One gesture. Free for five wedges, $9 one-time for unlimited. Requires macOS 14 Sonoma or later.
Download for macOS